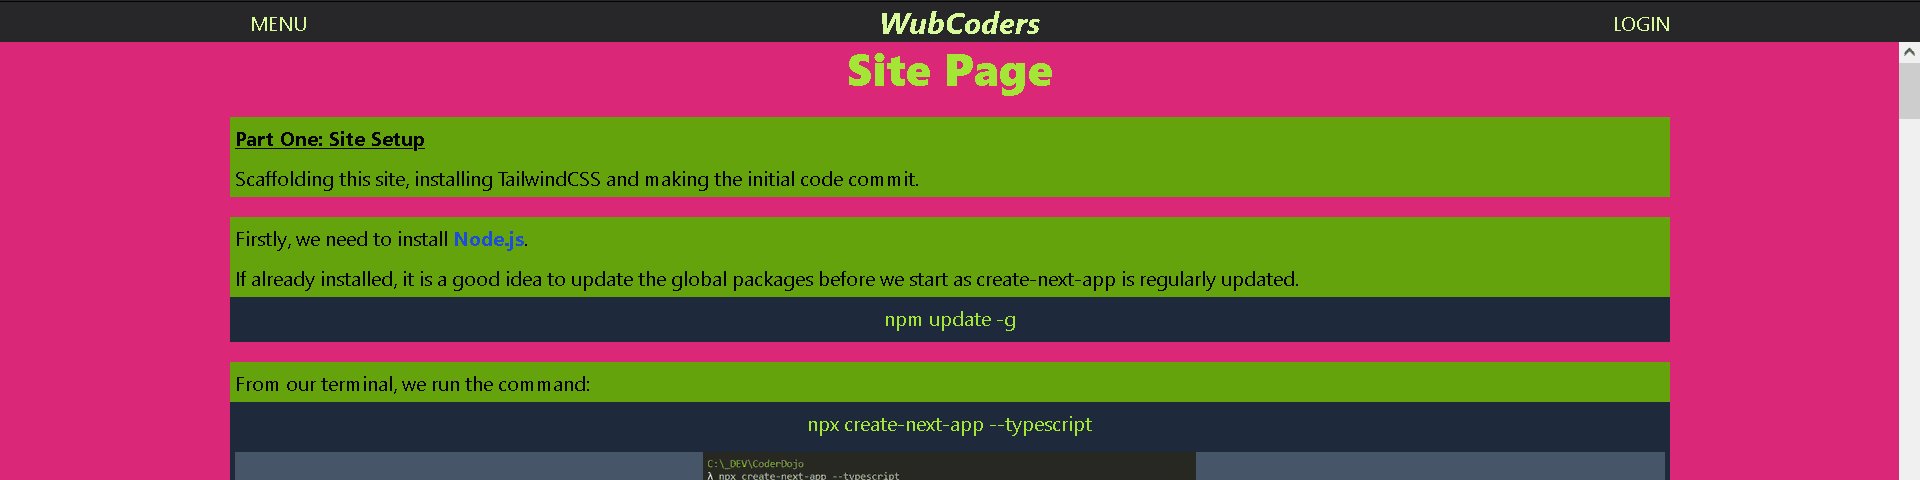
Site Information Page
About This Page
This is the beginning of a little wub-site for coders to demonstrate some of the features of modern web development.
As the site grows, I will move to a better 'change management system' but for the moment, I will layout each step and commit here.
The plan is a React and TailwindCSS Next.Js site hosted on Vercel with serverless functions, user profiles, authentication, guides and quizzes; and maybe a socket.io whiteboard and kahoot clone.
Getting Started
This guide is already out of date and it is highly likely the steps will require modification as the frameworks and modules develop.
This site is a relatively advanced site and is beyond writing from first principles. Using frameworks with a virtual DOM like React requires a good understanding of the HTML DOM; a CSS framework like TailwindCSS will abstract large amounts of css coding, but will only make sense with a good base understanding of CSS.
My main reason to use Typescript over Javascript is the assumption I will code bugs and strong typing is another layer of protection; without understanding how Typescript gets transpiled into Javascript, it can cause a lot of headaches (or require a lot of 'any').
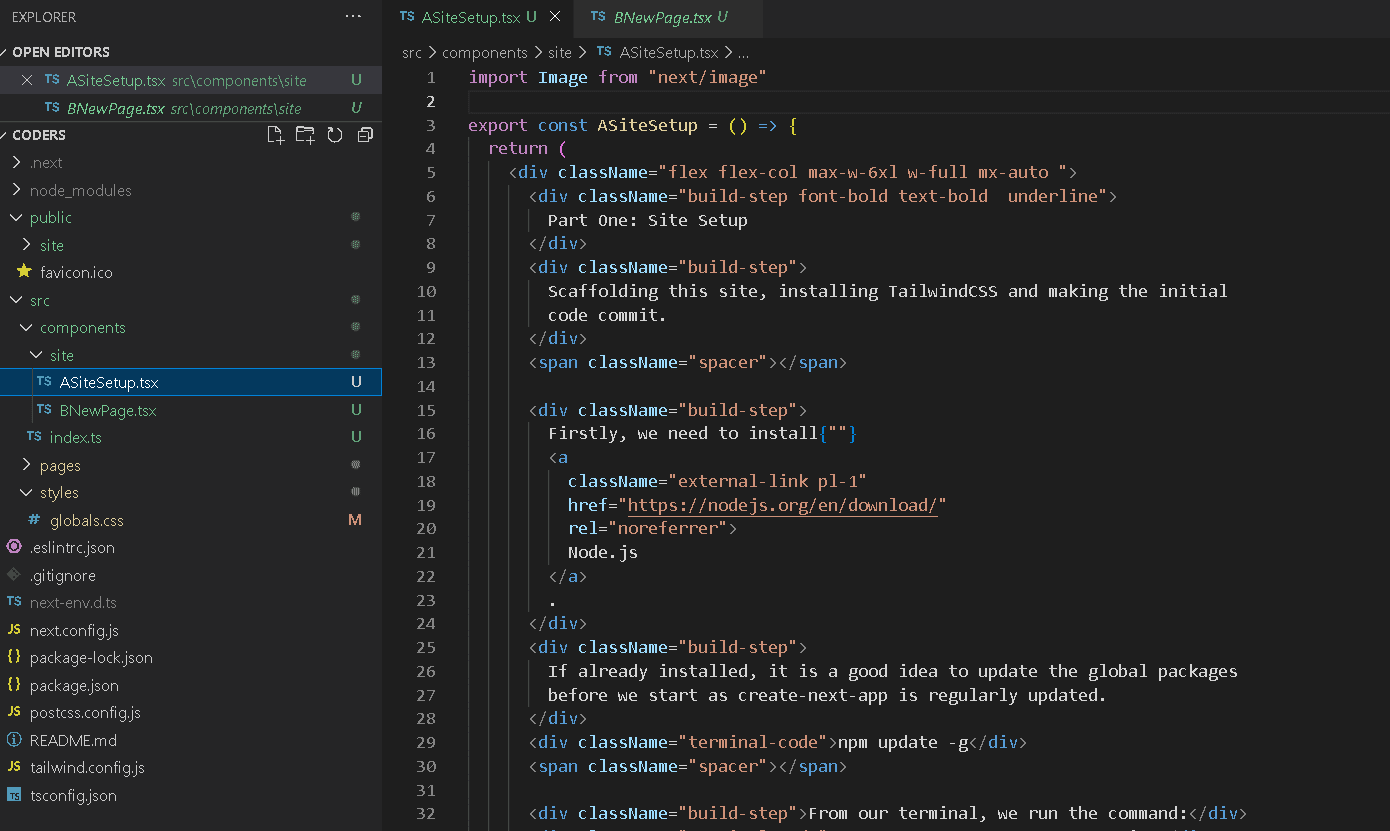
Part One: Site Setup
Scaffolding this site, installing TailwindCSS and making the initial code commit.
Firstly, we need to installNode.js.
If already installed, it is a good idea to update the global packages before we start as create-next-app is regularly updated.
npm update -g
From our terminal, we run the command:
npx create-next-app --typescript

We now have the scaffolding of our site.
This site uses TailwindCSS and with NextJs, requires postcss processing.
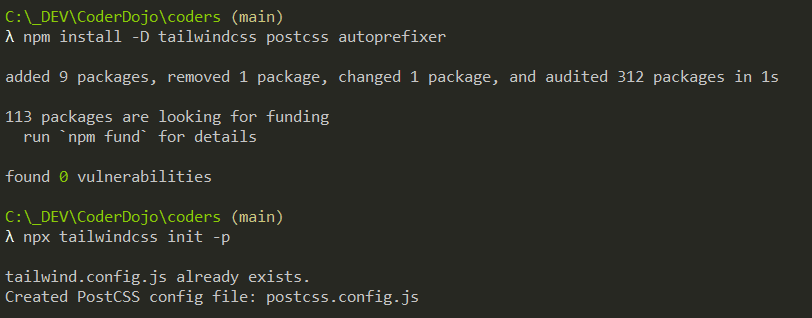
Change into the newly created directory in order to install TailwindCSS and initialise it.
npm install -D tailwindcss postcss autoprefixer
npx tailwindcss init -p
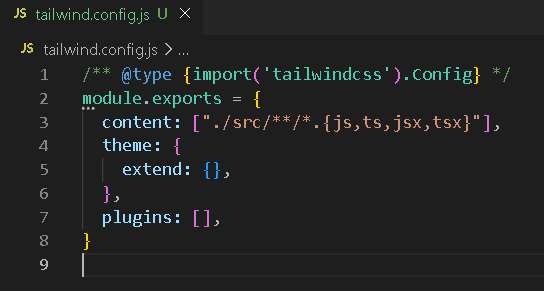
Within the tailwind.config.js file, we need to set the source directory.
I selected to use the src directory when initialising the app.
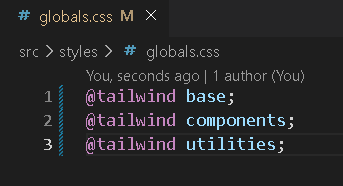
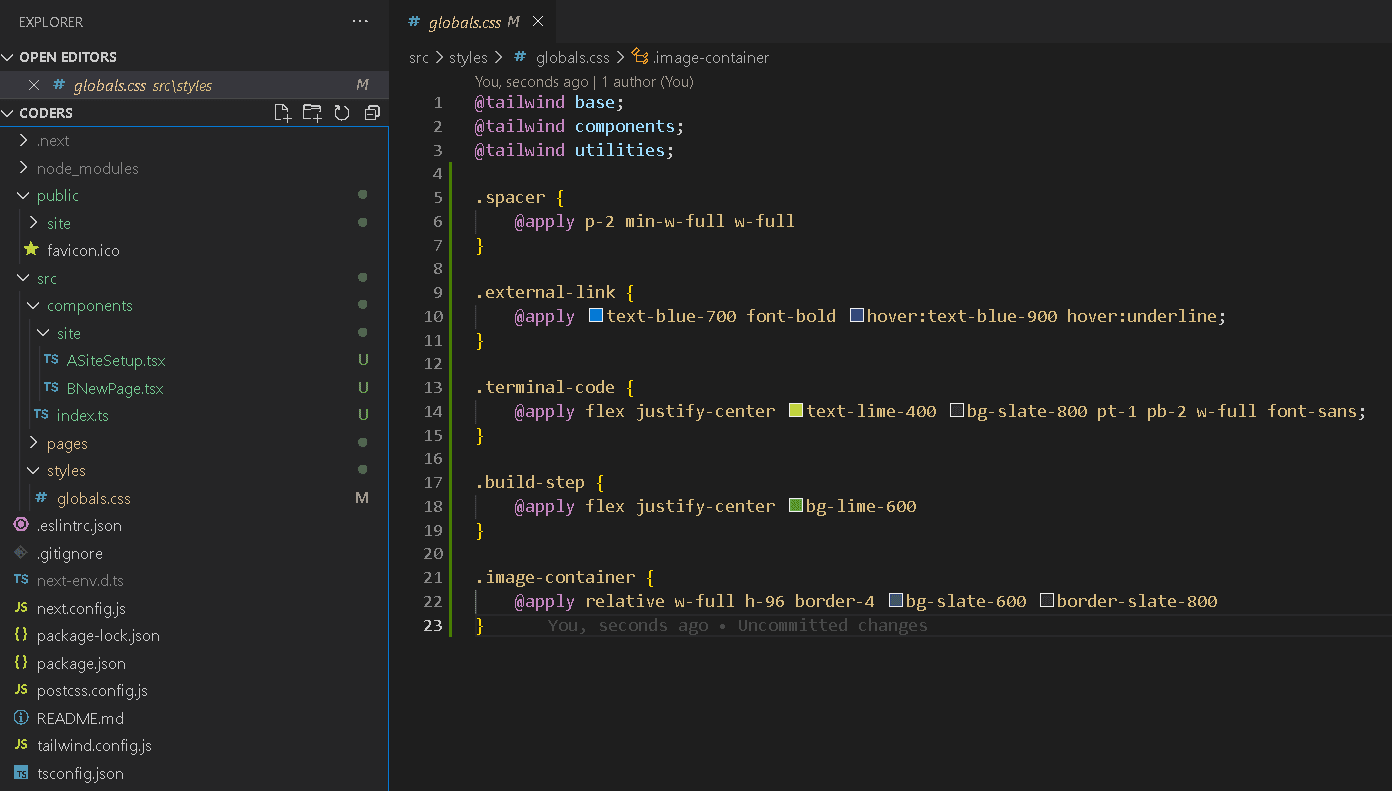
Within the globals.css, we need to add the TailwindCSS directives.
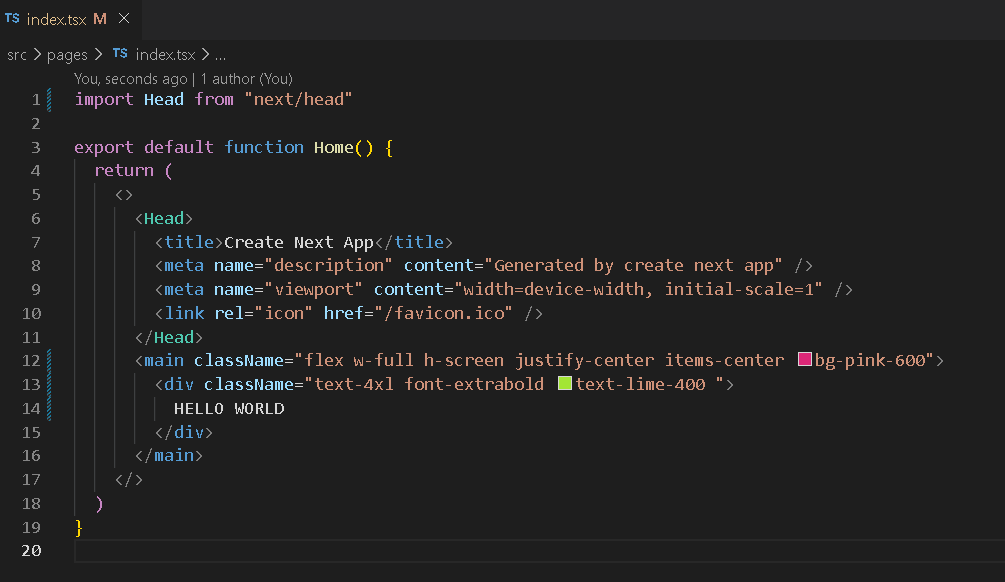
We update the index.tsx to remove the boilerplate code, and add some TailwindCSS classes.
Everything should now be setup and we can run our development server.
npm run dev

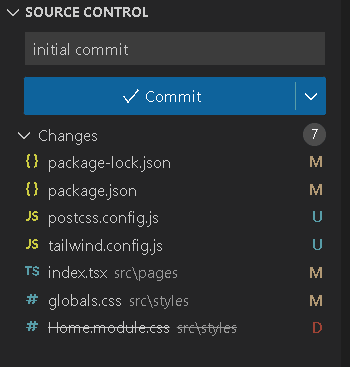
We can now make an initial commit to source control for the project.
Part Two: This Page
Creating a second page and components.
Firstly, let us create a button to access our second page in the index.tsx.
We use Next/Link for our link as this is an internal page on our site.

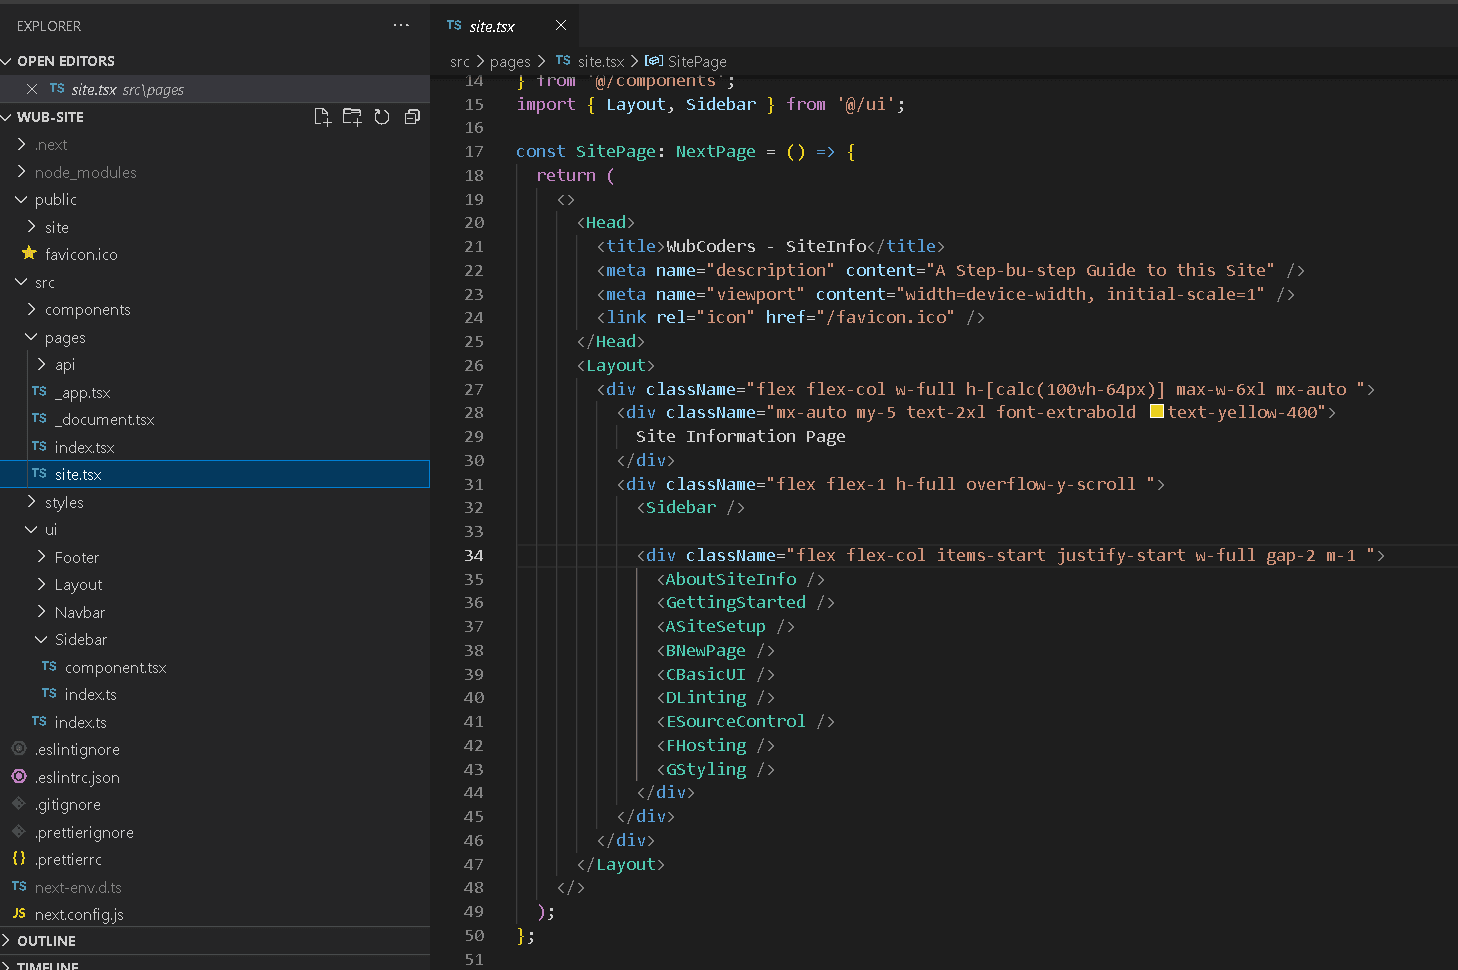
We create a new page in our pages directory for the site info called site.tsx.
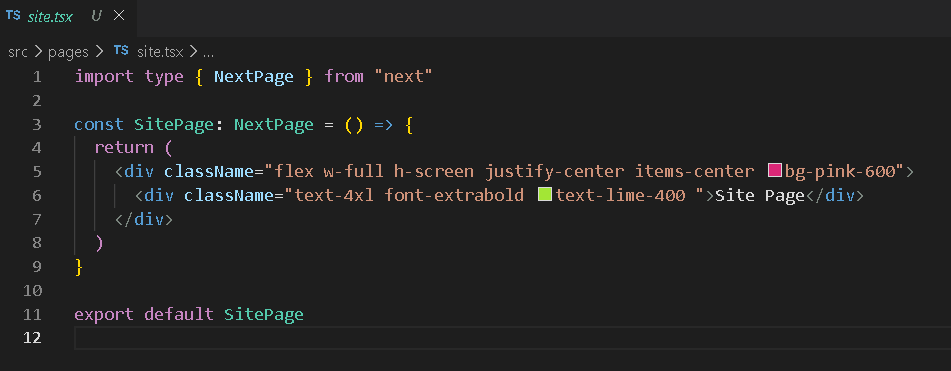
We should now see a button on our home page to the site info page.

That will bring us to out site info page.

Create a new directory in components for the site components. We will create an index in the root of our components directory to better manage things; not this is just a pure typescript file so the extension is ts.
Also worth noting, components in React should start with a capital letter!
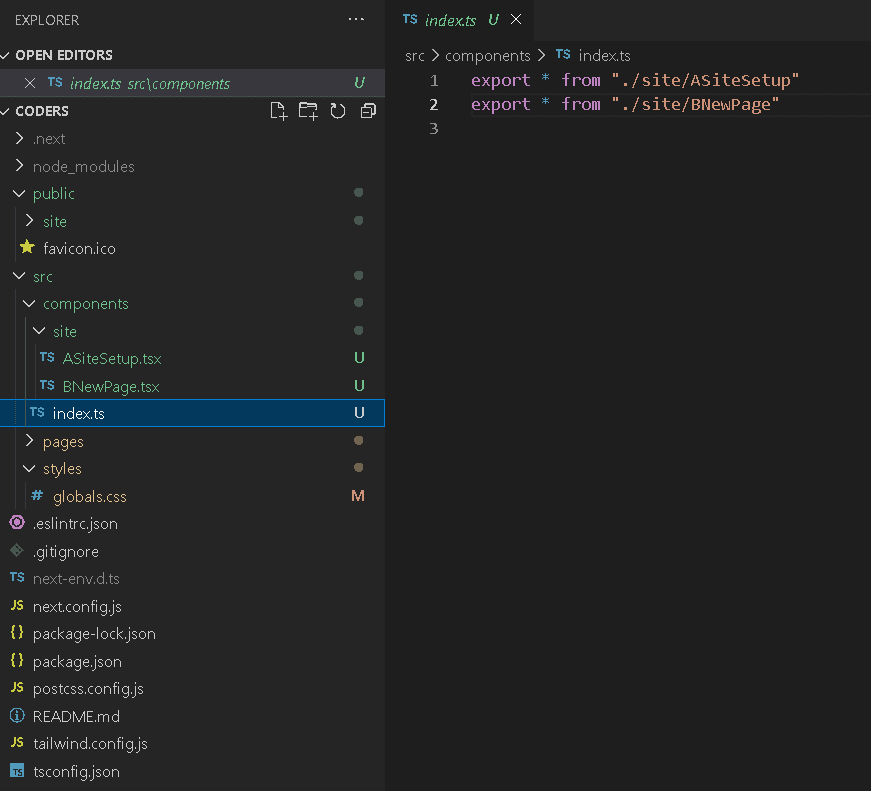
The first two components are this one and the previous section.
We setup some initial tailwind utility classes to handle some basic styling within our globals.css.
I have added all the screen-shots of the build process to a folder called site, within the public directory.
Next/image is used to fetch and display the images. I will relocate them and add additional styling at a later stage.
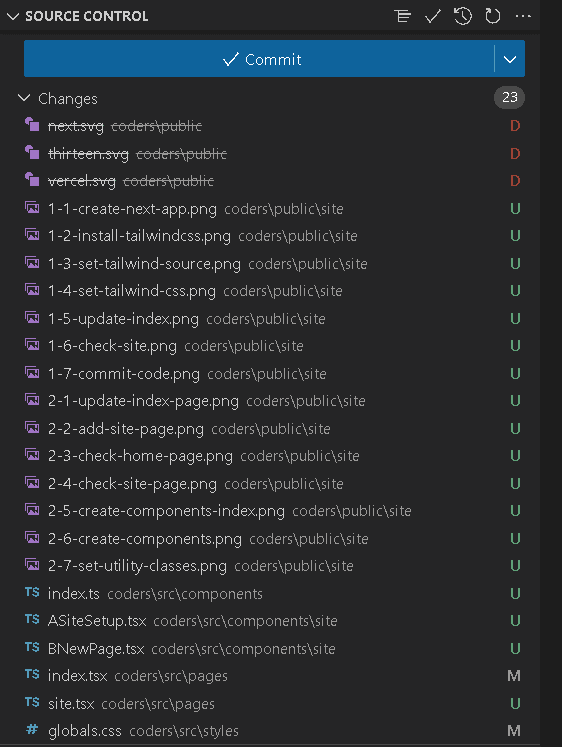
Finally, we can commit this section to source control.
Part Three: Basic UI Elements
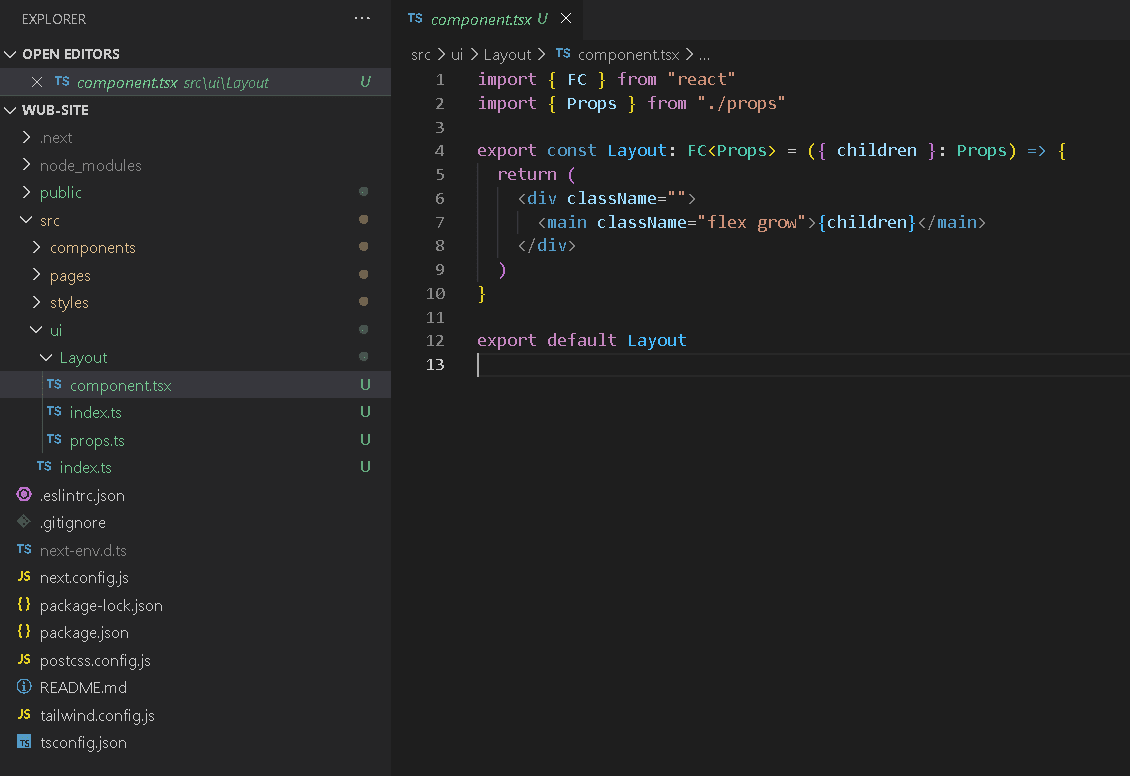
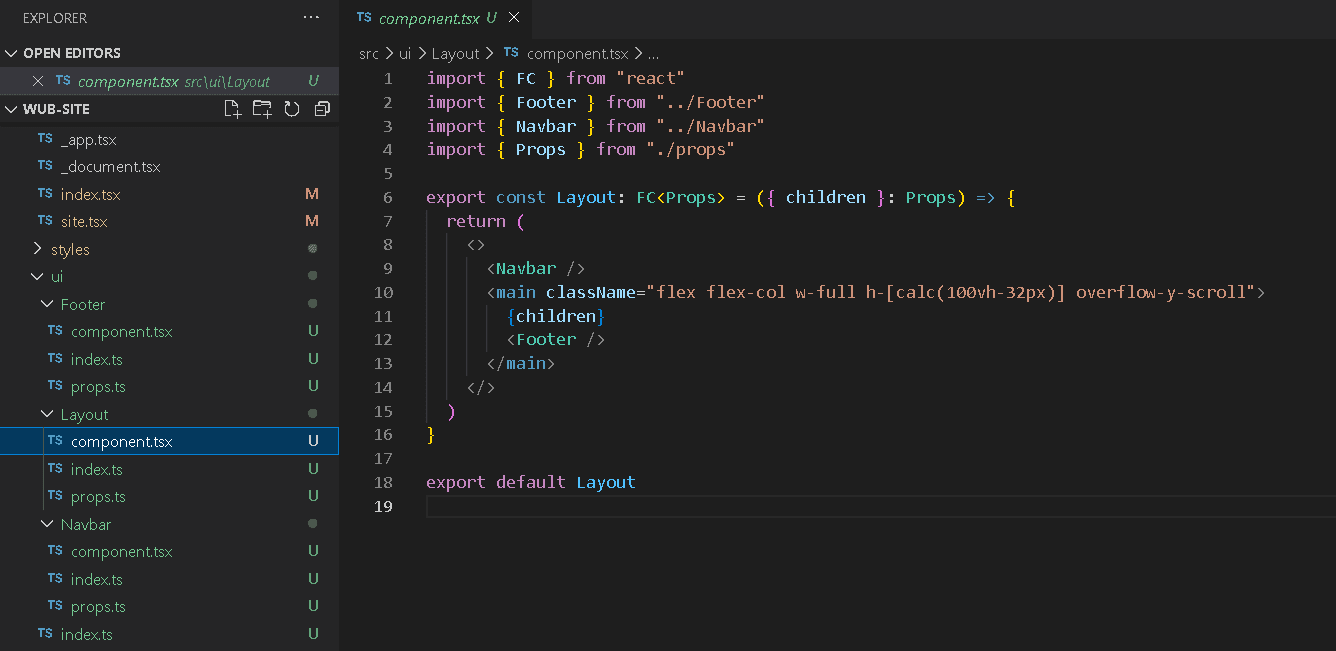
The first main component is the Layout component, this will be used across the site on all pages and position the navbars and footer components around the pages content.
There is an element of personal preference to structuring projects. My preference is to sperate the content components and the UI folders to make things slightly more managable for larger projects. Additionally, seperating out each component into seperate files is a personal preference and a code style I like.
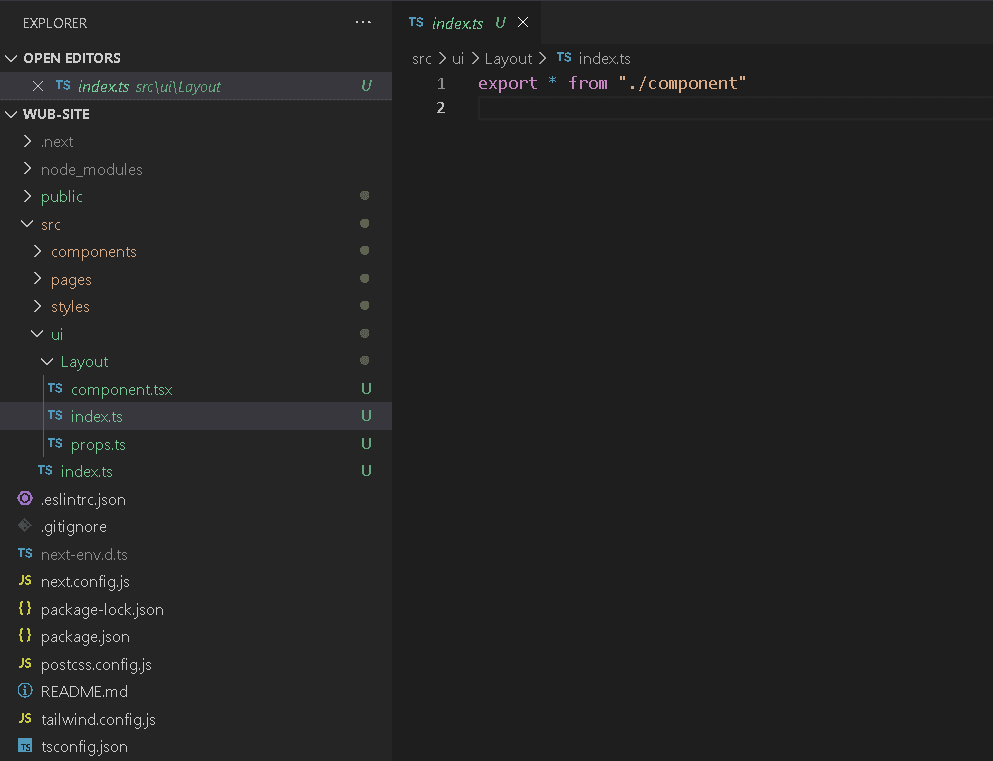
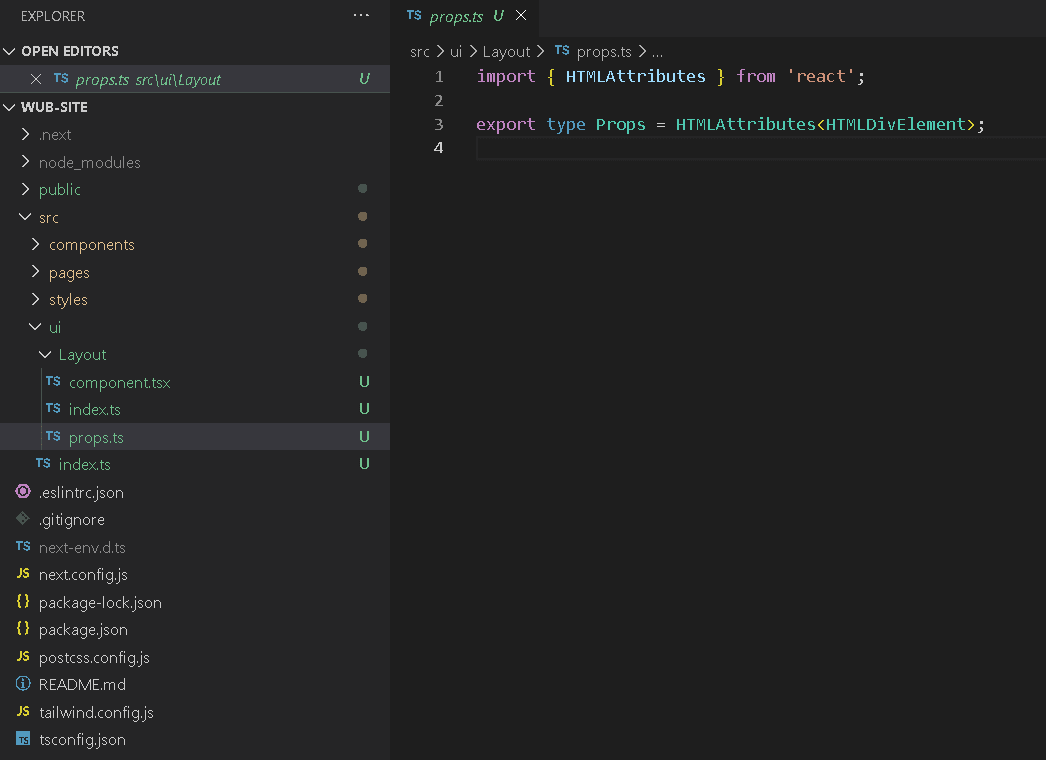
I create a folder for each component and declare it in a index.ts in the root of the UI folder.
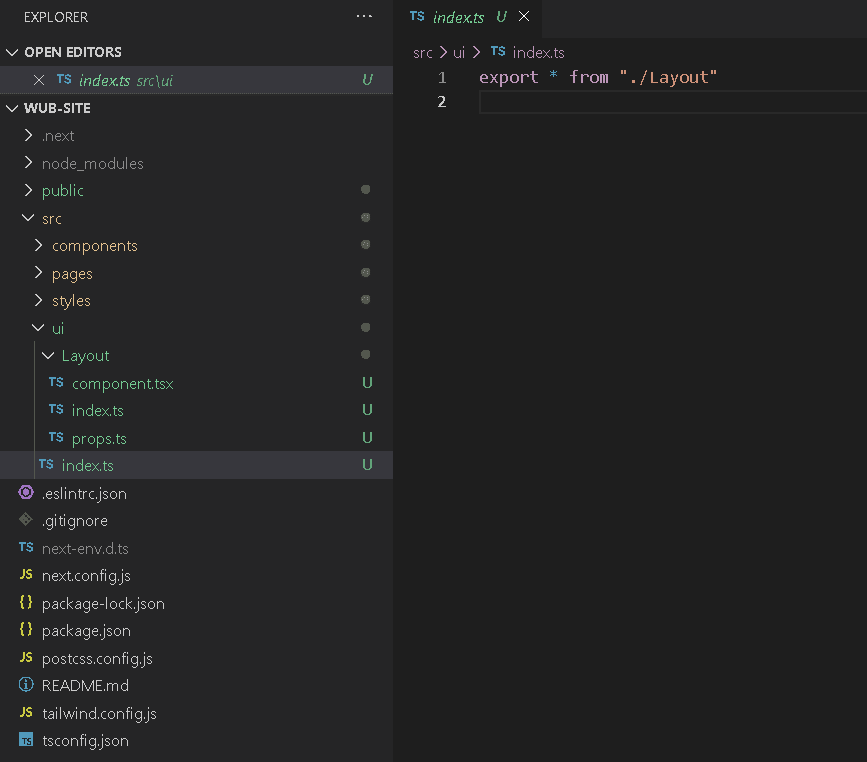
I use a index.ts for the component entry point, a props.ts for declaring the props and their typings; and a component.tsx for the actual jsx (tsx in this case).
The props file let us easily see the what the component needs to work. In this case the props will simple provide an interface to the HTML Element (that is the page being passed to the layout) called children.
Our layout component is a React Functional Component that returns the page (children) wrapped with the layout components.
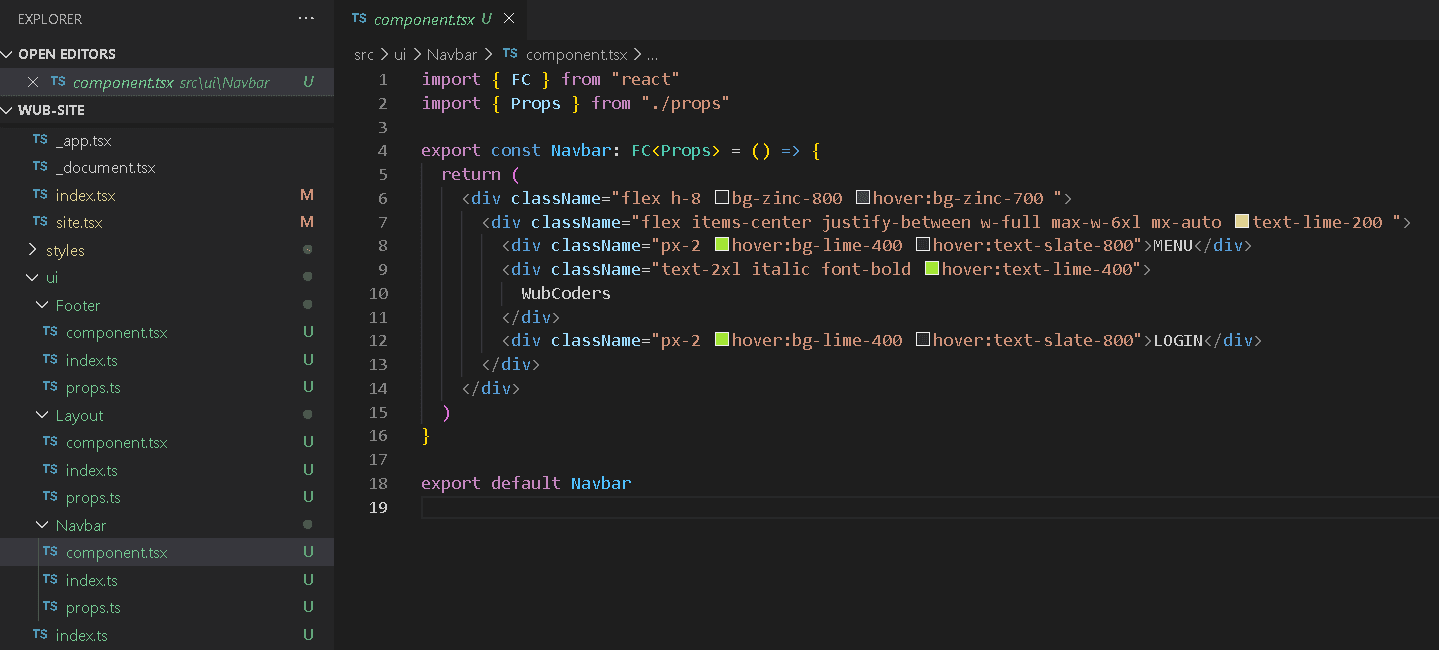
Next we create a Navbar component with a fixed height (h-8 is the tailwind class for 2rem which by default is 32px).
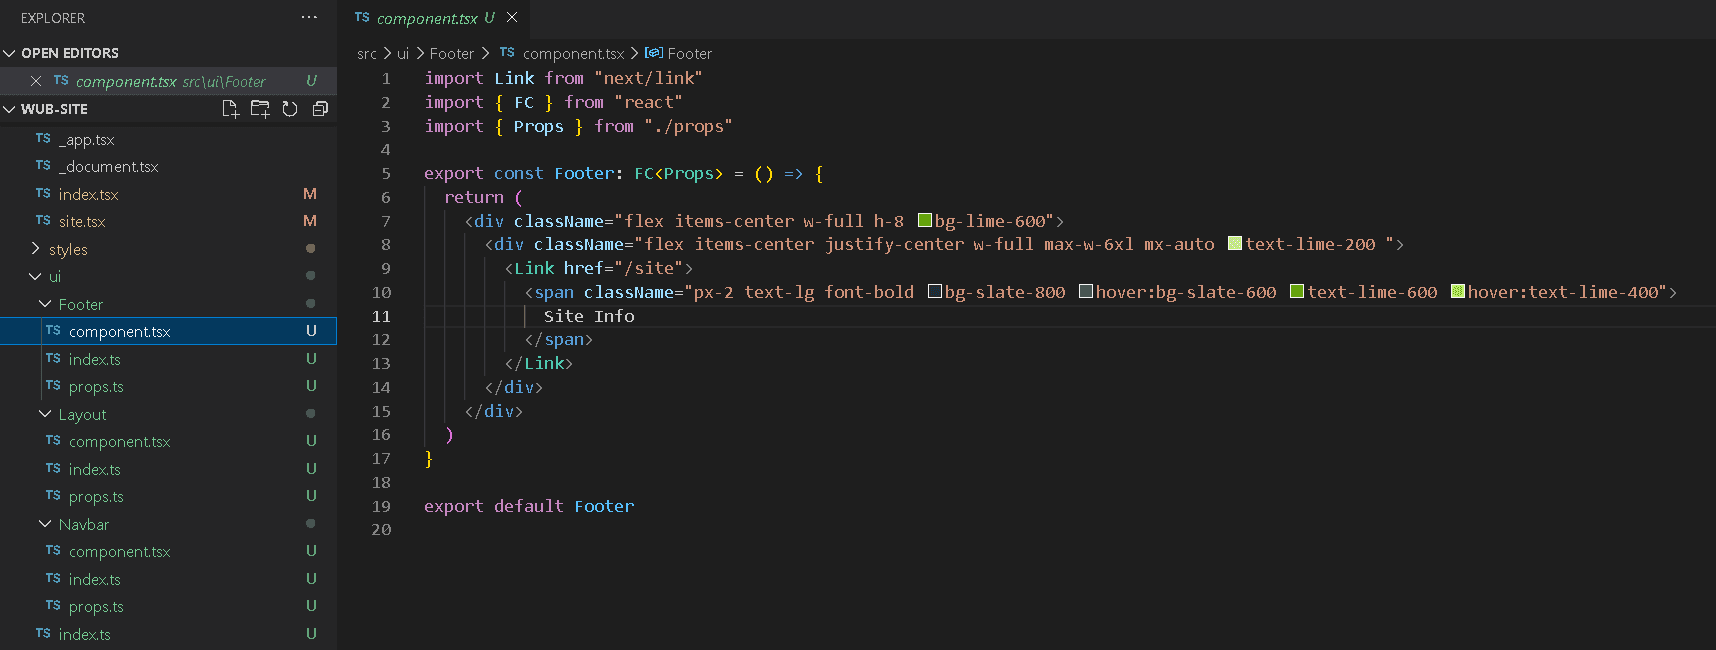
We create our Footer component which will also appear on every page.
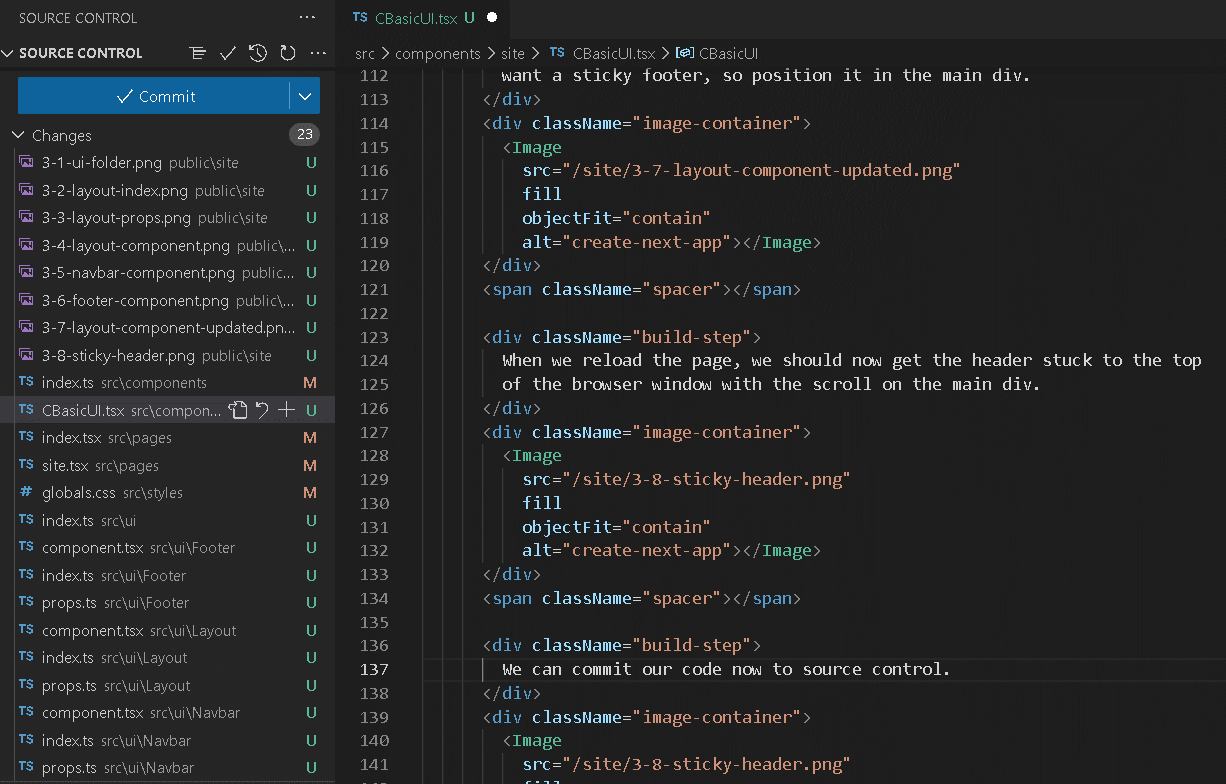
We update our layout to have a fixed height of the entire viewport minus 32 pixels (the height of the header), thus making it sticky. We do not want a sticky footer, so position it in the main div.
When we reload the page, we should now get the header stuck to the top of the browser window with the scroll on the main div.
We can commit our code now to source control.
Part Four: Linting
Linting helps us locate and fix bugs before we deploy our code. The create-next-app setup configured the basic linting however we want to extend the rules for our specific setup.
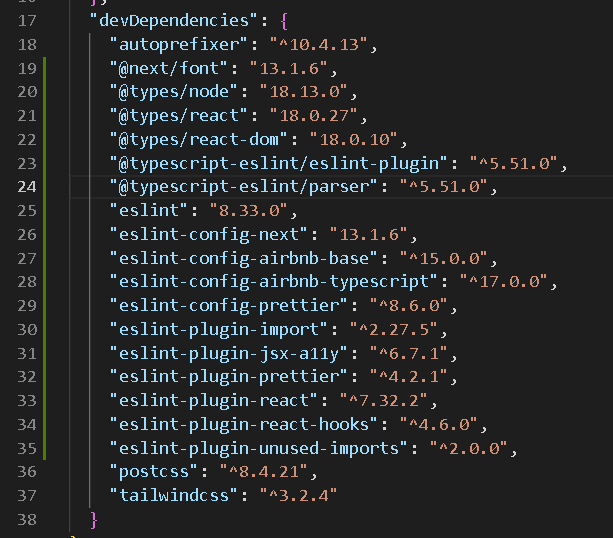
We install additional packages for Linting through NPM.
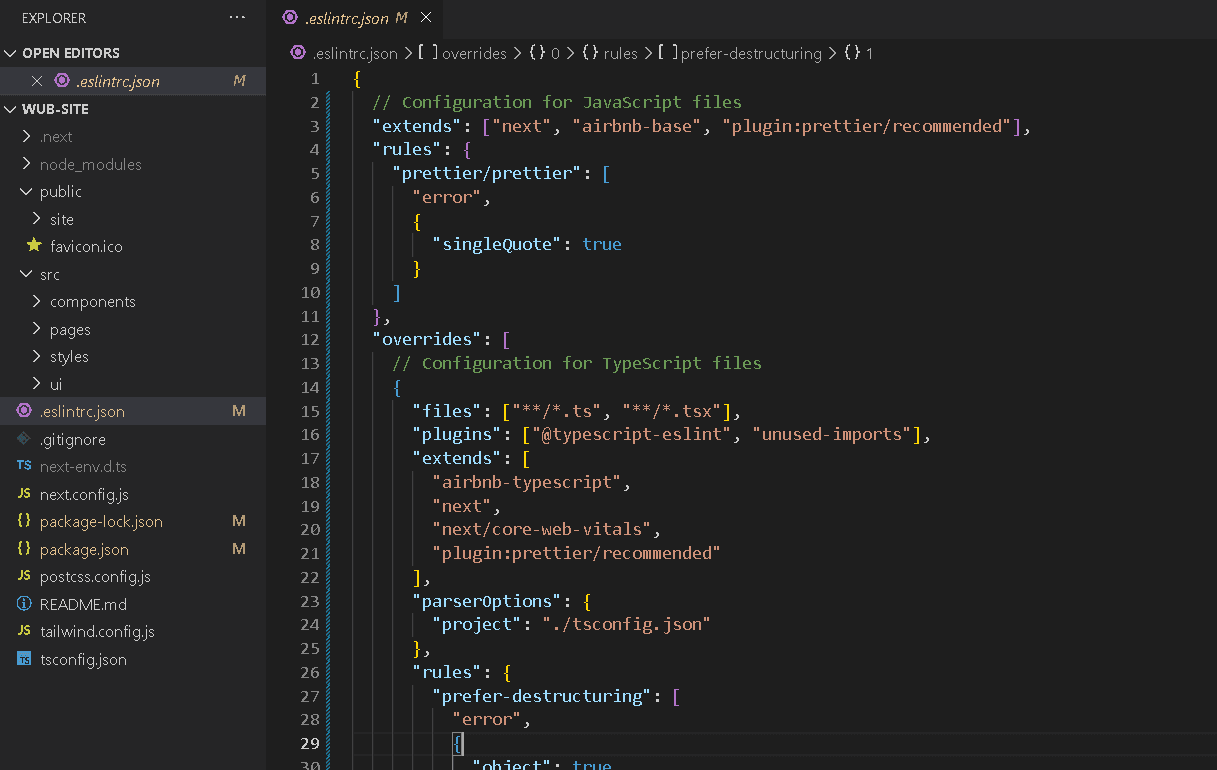
We can then use these packages for new rules in our .eslintrc.json file.
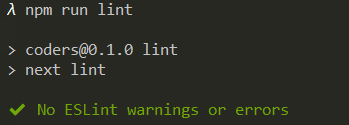
If we now lint the project, we are likely to get a large number of errors back, largely CR (carrige return) errors.
npm run lint

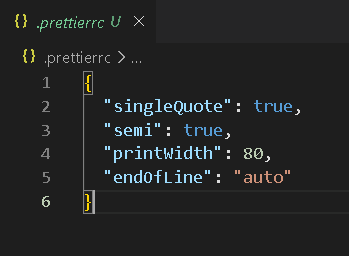
By adding a prettier configuration file (.prettierrc); we can set the default options for formatting on save. Setting the End of Line to auto should resolve the CR (carrigage return) errors when saved.
Additionally we will add ignore files for eslint and prettier to exclude the node_modules and other directories we will look after ourselves.
We should now be able to run our linting command and without issue.
npm run lint
We can commit our code now to source control.
Source Control
Git is a distributed version control system that tracks changes in any set of computer files. Despite only being authored in 2005, it has become a core pillar of modern development and source-control management (SCM).
Git has been developed under a GNU General Public License (GPL2.0) guaranteeing end users the four freedoms (to run, study, share, and modify the software). Anyone can download the Git server code and host their own Git server, however there are a number of providers online where you can host your code repositories for free.
This project uses Github the largest source code host acquired by Microsoft in 2018 for US$7.5 billion. Gitlab and BitBucket also provide full feature source control and git apis.
It is always best practice for a project to be as vendor agnostic as possible and any internet accessible git service should be interchangable.
Part Five: Pushing Code
We created a new repository on Github to store our source code. We can add our remote repository and push the code.
git remote add origin URL_TO_GITHUB_REPO
git push origin master
Part Six: Hosting
This site is hosted on Vercel (the creators of Next.js).
Styling
This page is quickly growing into endless scroll which is probably not the best layout for this content.
We will add a menu and do some refactoring and styling.
Site Info Menu
Firstly we need to create a menu file called siteMenu.ts to store our array of menu items. This is a standard typescript file and we will keep it within out site components directory for the time being (code spell on this).
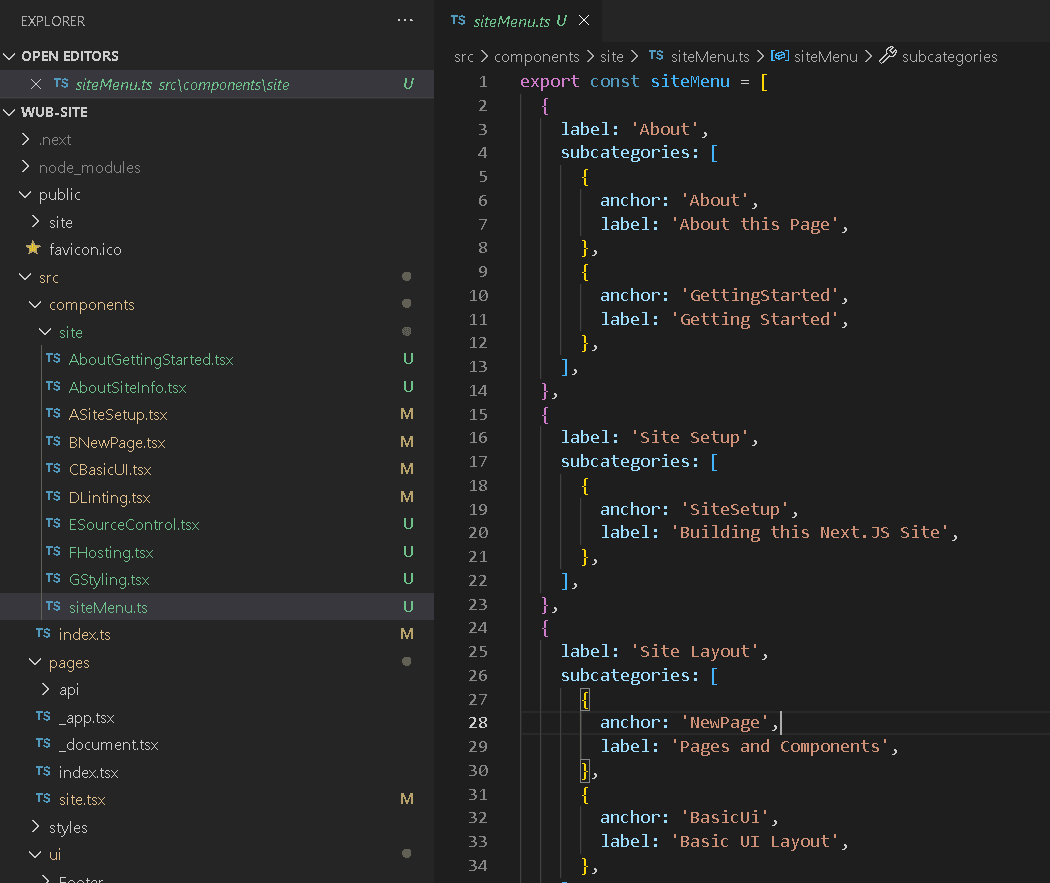
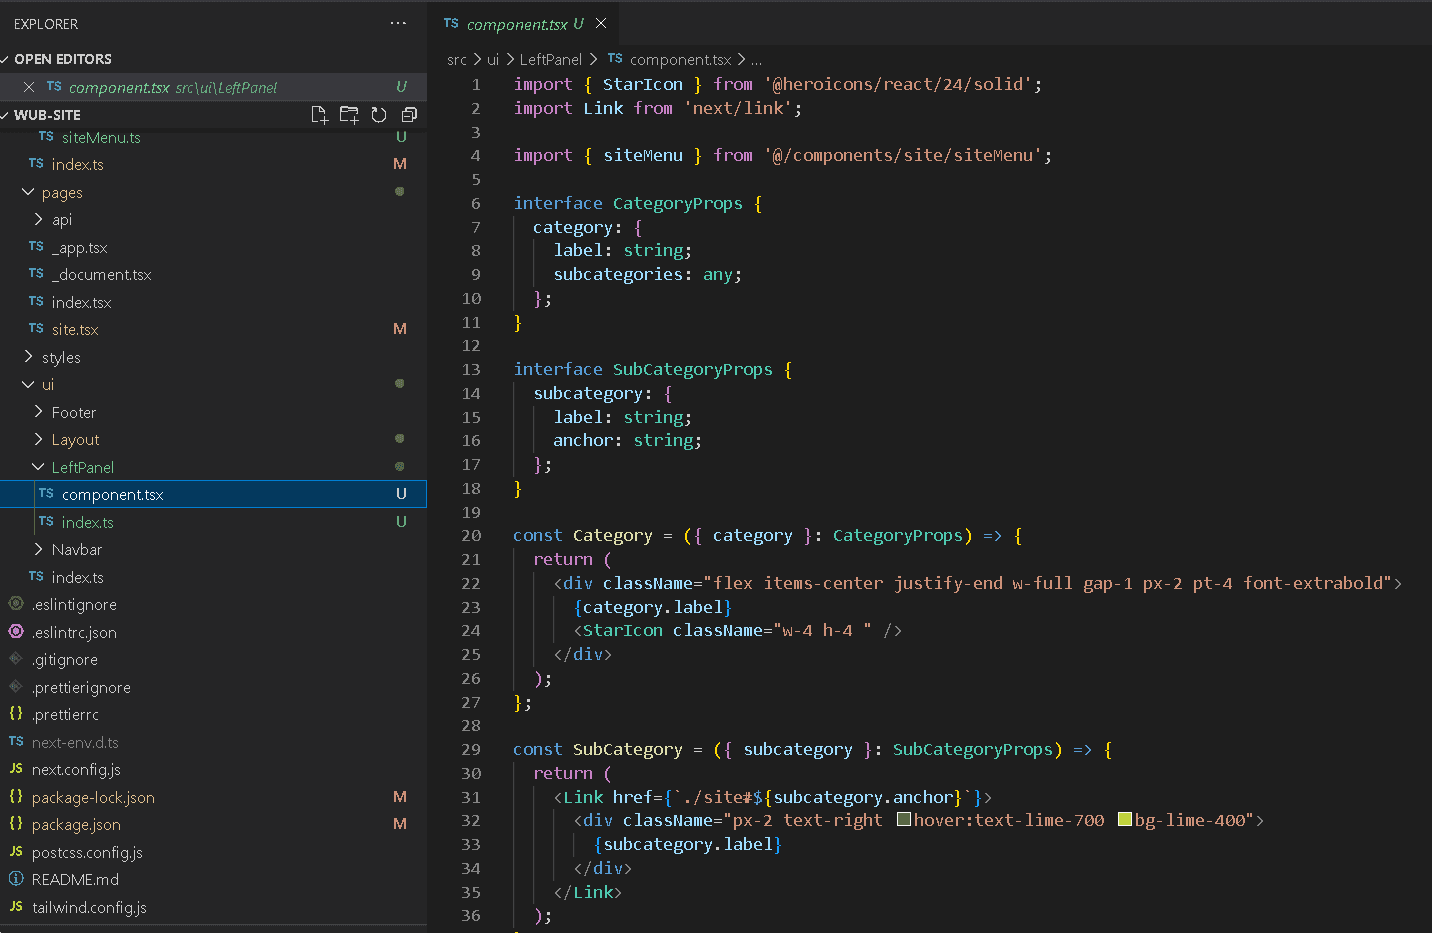
We need to create a site menu component. I have called this Sidebar with the intention of reusing it in other places.
This component will take in our array of menu items to create the menu with the categories and sub-categories.
Next, we update the site page with our sidebar and some hacky css to position things. At this point we are ignoring mobile who will have have a terrible time visting this site.
Backend Integrations
This site is going to need some backend services for storing data and authenticating users.
For this project, we are using Supabase who provide Postgres Dbs on AWS services with a good free / hobby offering.
Their service is well documented with lots of integration tutorials from both Supabase and Vercel. To get up and running, I followed the Supabase guide on integrating with Vercel. https://supabase.com/docs/guides/integrations/vercel
Database
We created the basic Todo table on Supabase without security. We will lock them down in the next step!
We install the Vercel NPM package and then login, link our local project to Vercel and load the envionment.
npx vercel login
npx vercel link
npx vercel env pull
Note: This step creates a local environment file with our Vercel tokens. We do not want to commit this file to sorce control so rename it .env.local or add it to the .gitignore file. Check it is not marked for commit!
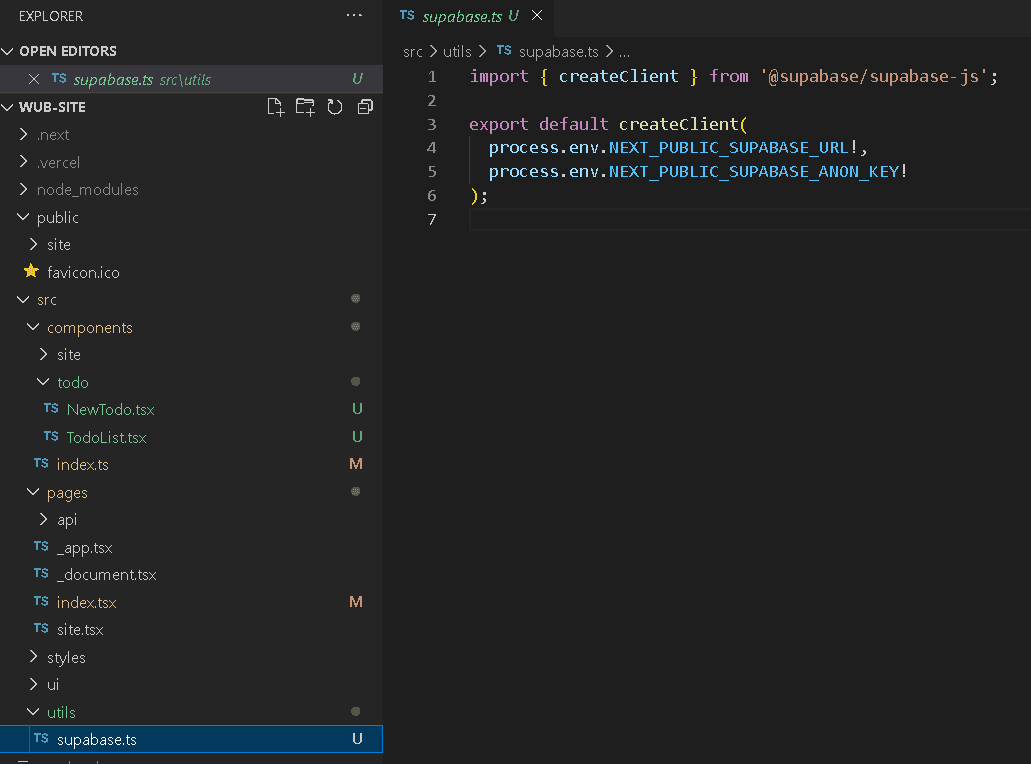
We created a utilities folder within our project and in it a file (supabase.ts) to handle our Db connection.
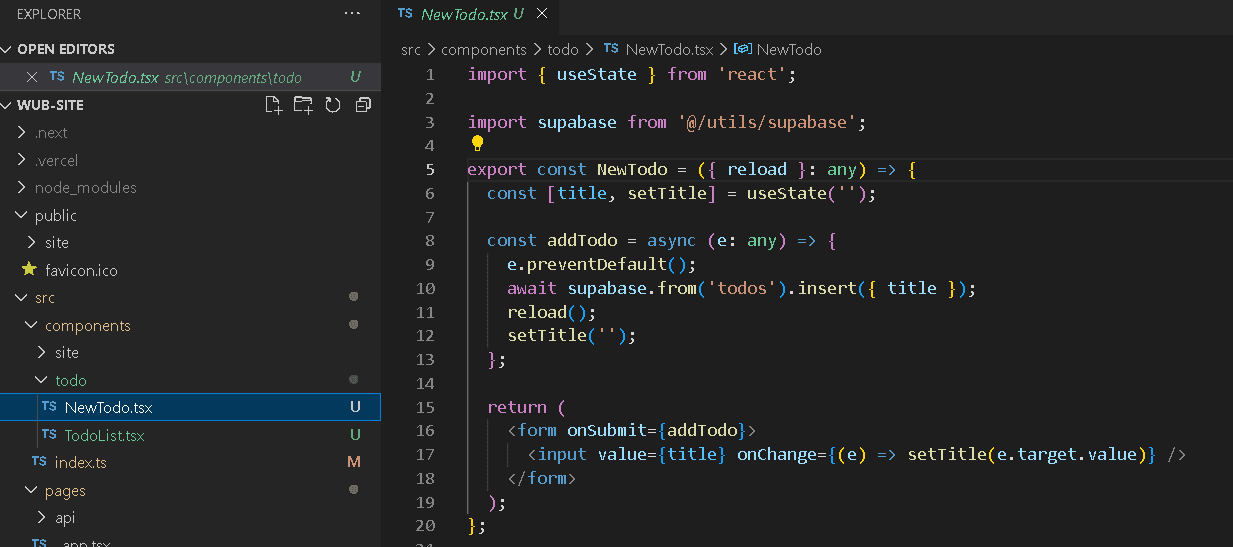
We create a new todo folder within our components and a new file called NewTodo.tsx for us to create a new Todo.
We create a new file called TodoList.tsx that will fetch our database todos.
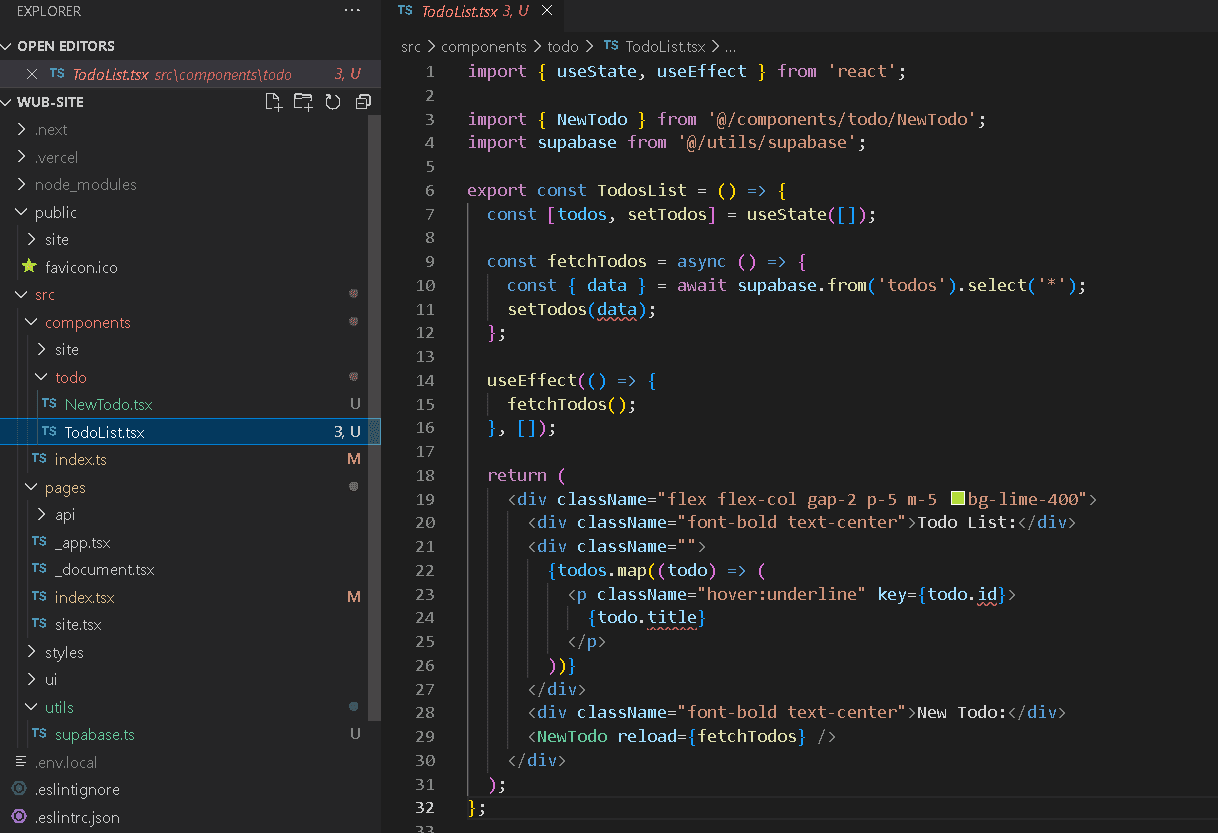
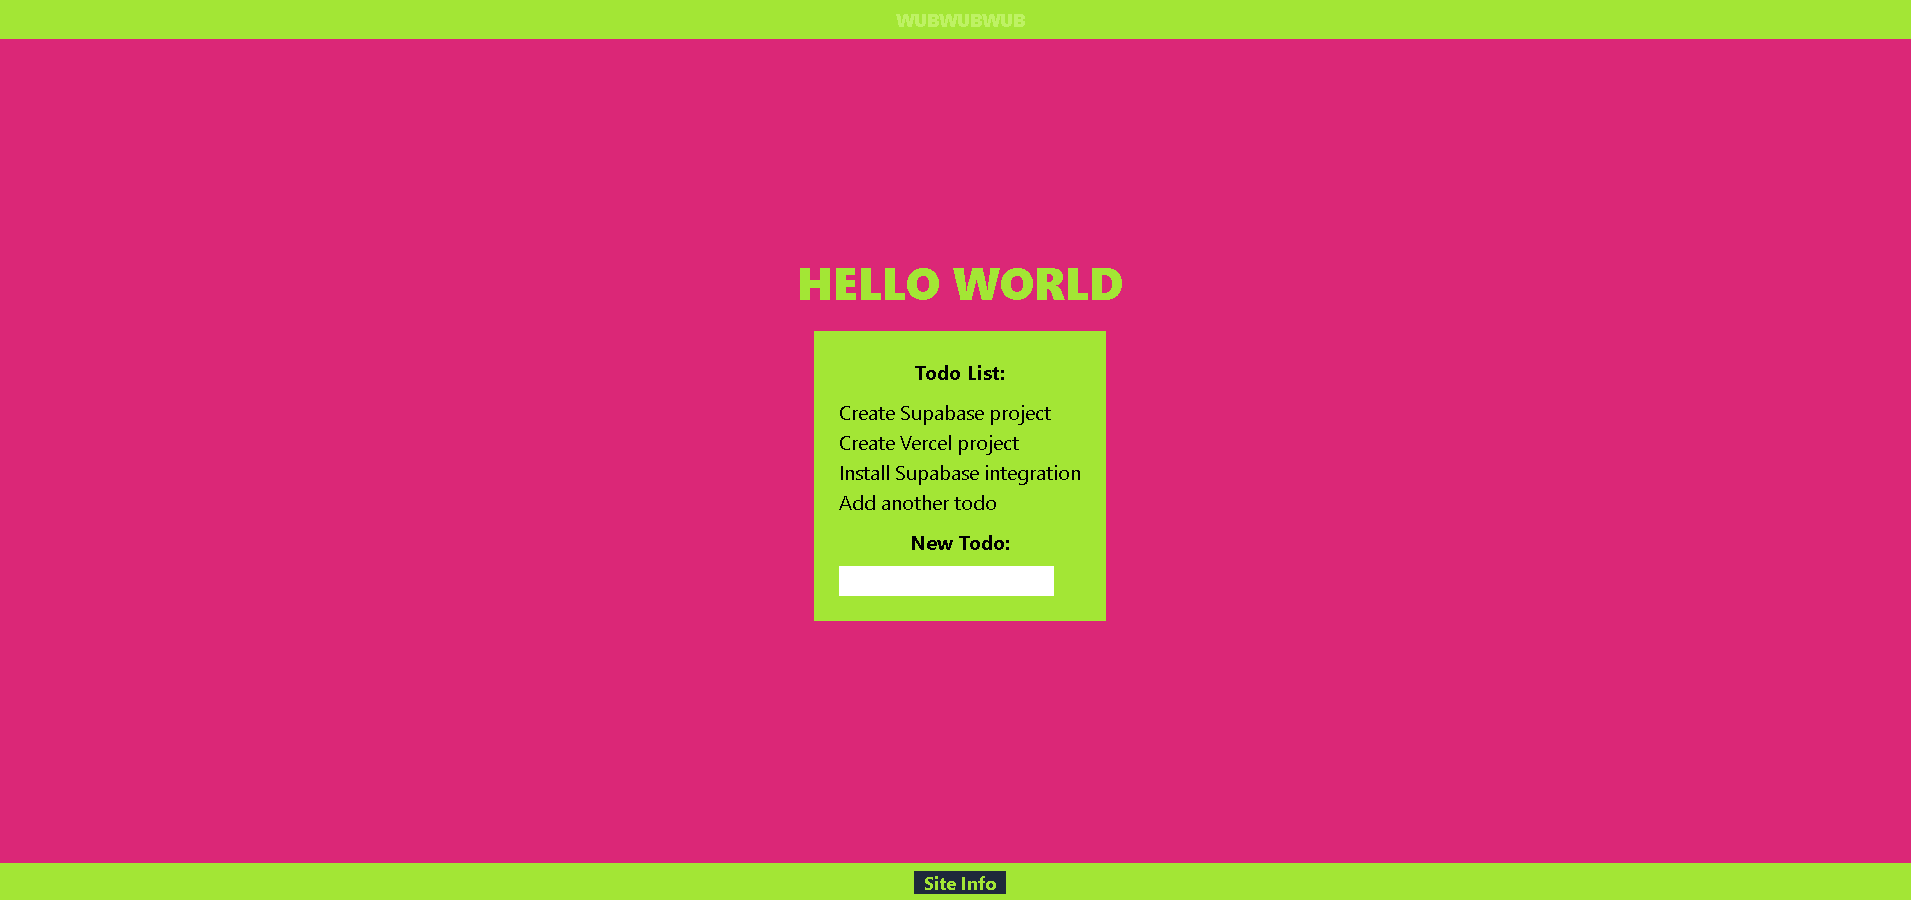
Finally, we display our todo list on our home page.
We (and everyone else) can add a todo to our list and it is pushed to our database, and the page refetched all todos and displays them.
While we currently lack security, authentication and validation in this process, it is blisteringly fast!
Hosting User Accounts
Authenticating Users